TH2 – Pressure Measurement and Calibration
The Armfield Pressure Measurement and Calibration Unit has been designed to introduce students to the physical science of pressure and how different techniques can be employed to measure this variable.
Description
A bench top unit designed to introduce students to pressure, pressure scales and common devices available to measure pressure.
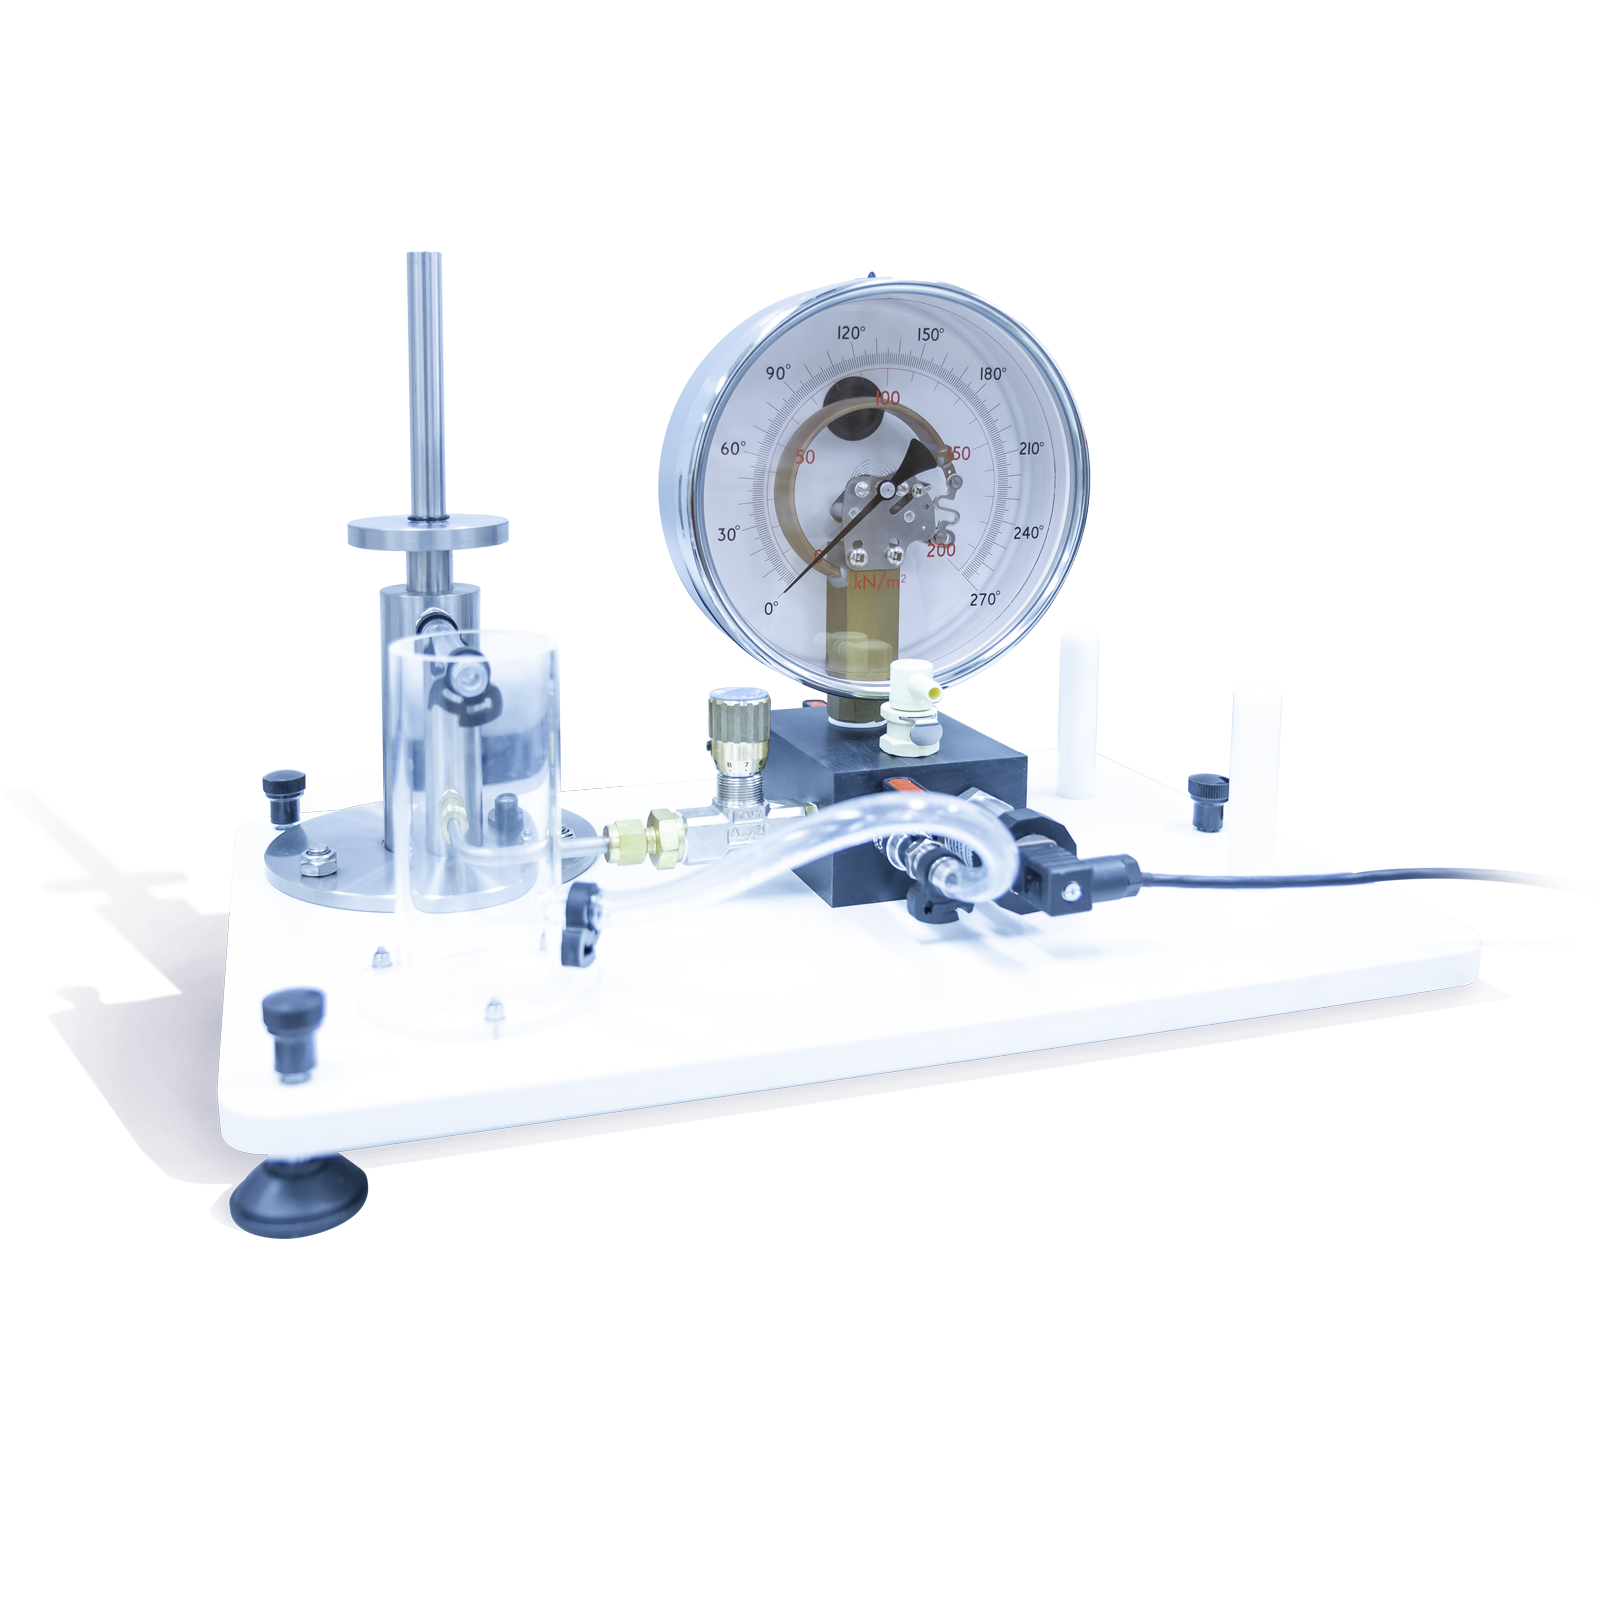
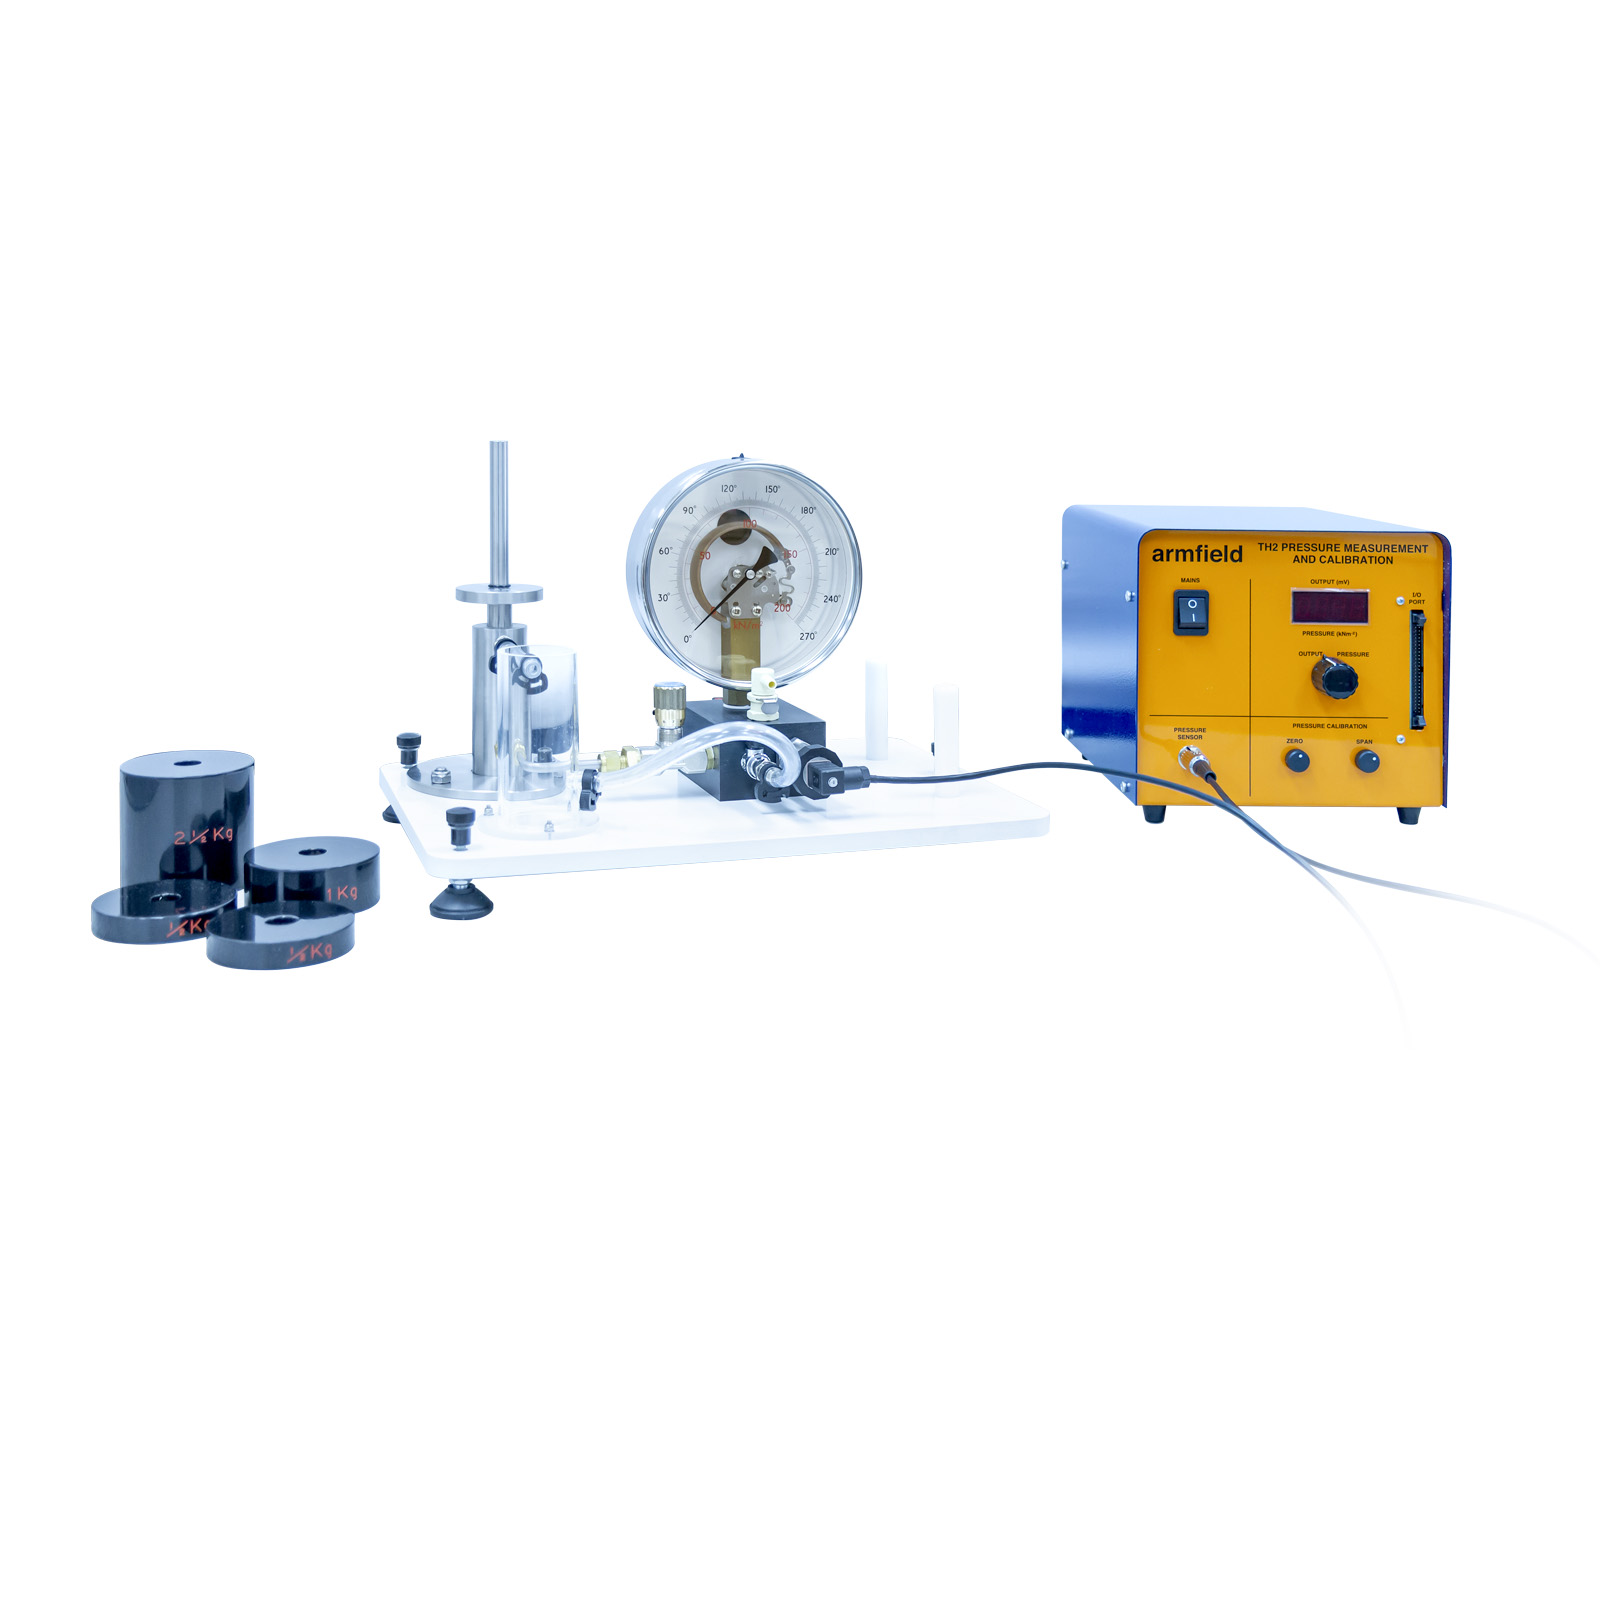
The equipment utilises a Deadweight Pressure Calibrator (DPC) to generate a number of predetermined pressures. This is connected to a Bourdon gauge and electronic pressure sensor to enable their characteristics, including accuracy and linearity, to be determined.
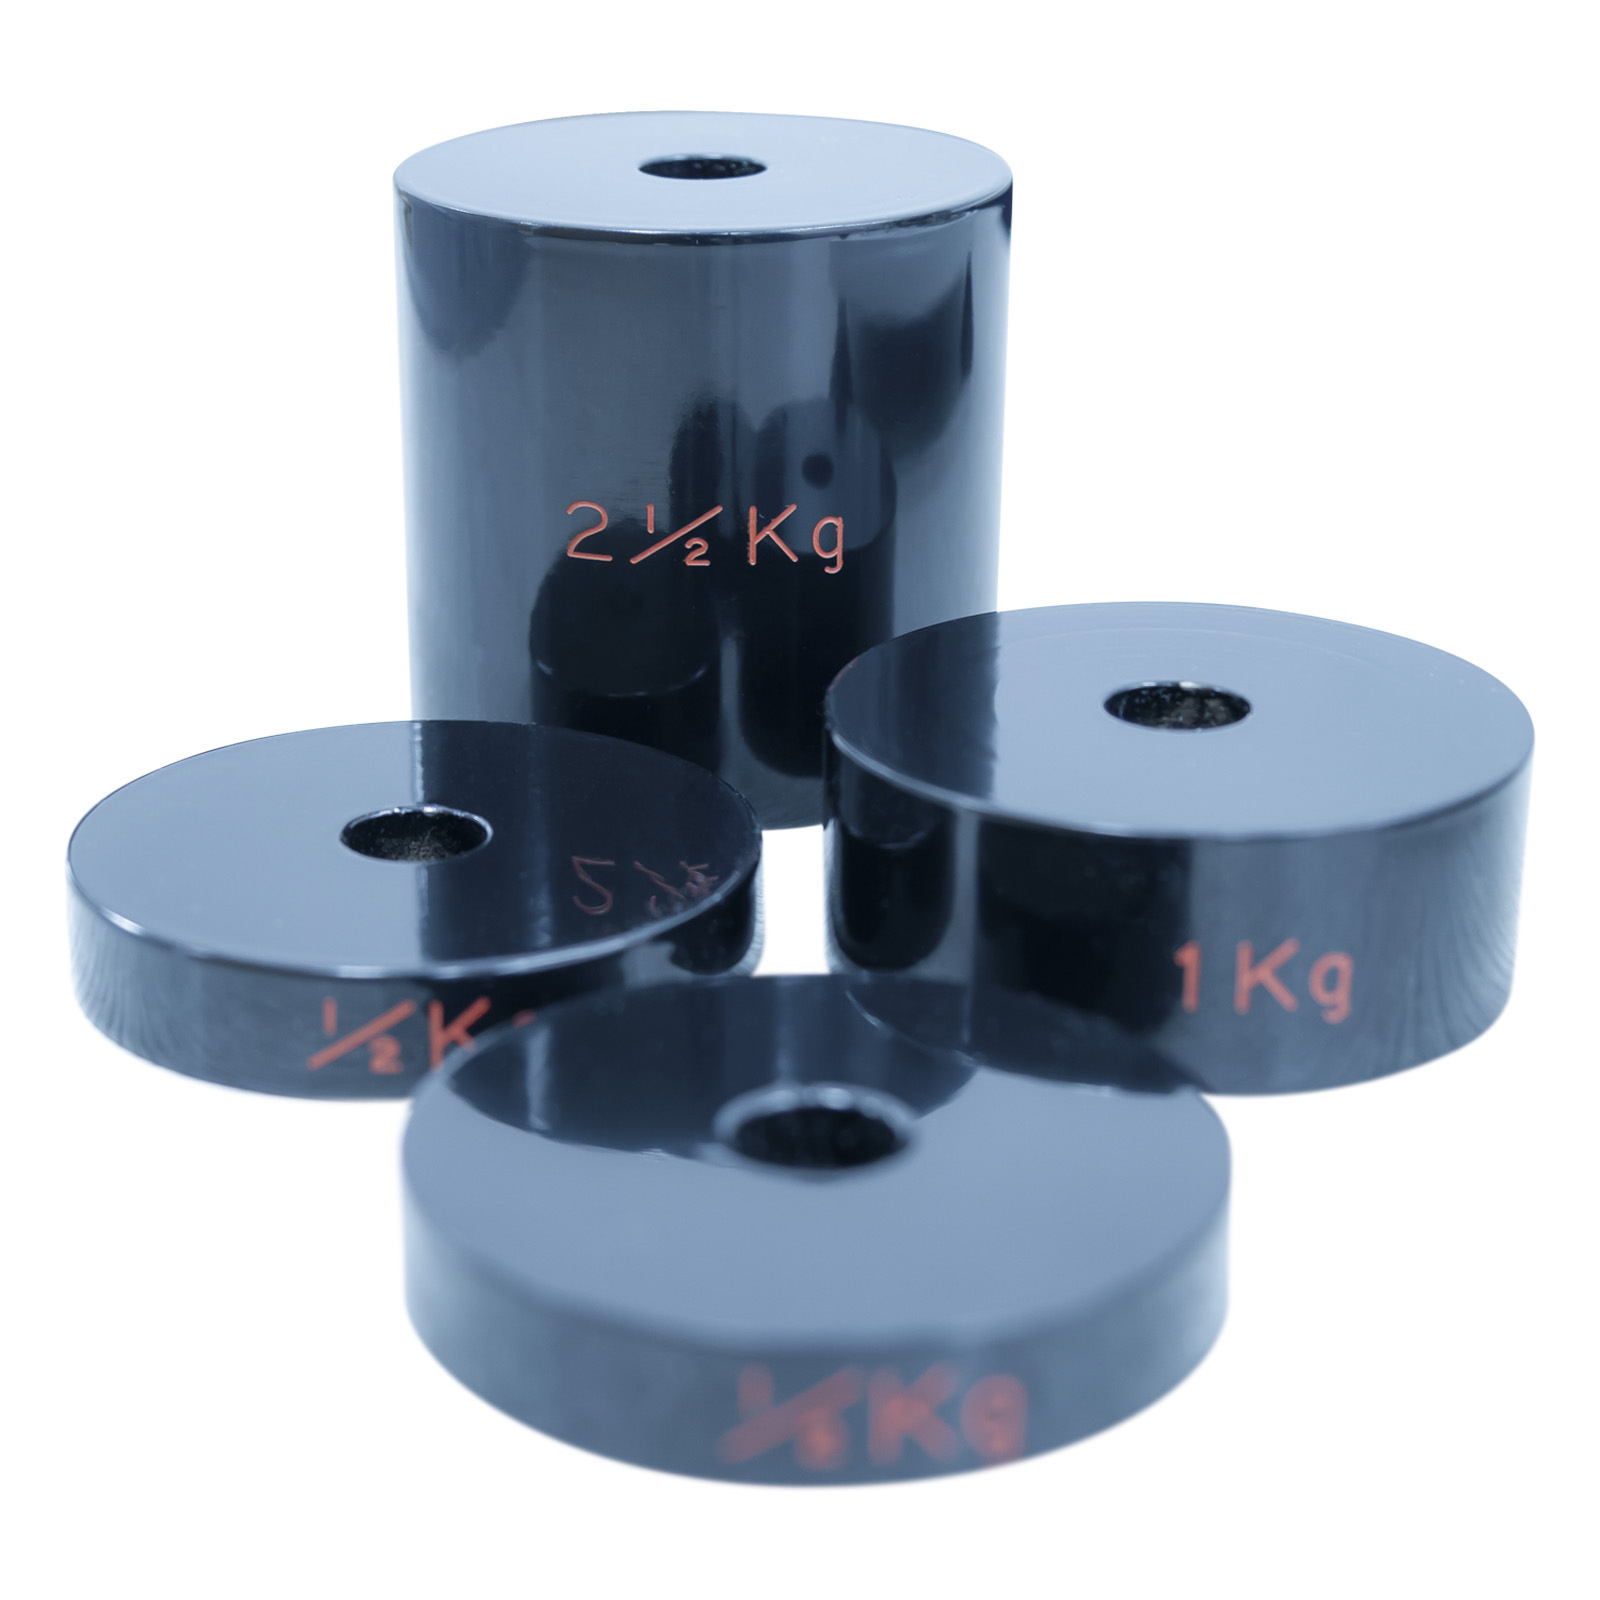
The DPC consists of a precision ground piston and cylinder with a set of weights giving an operating range of 20 kNm-2 to 200 kNm-2.
The Bourdon gauge and pressure sensor are mounted on a manifold block with a separate reservoir to contain the hydraulic fluid (water for safety and ease of use). Valves enable easy priming, restricted flow of water to demonstrate the application of damping and the connection of alternative devices for calibration.
Technical Specifications
- Operating range of Deadweight Pressure Calibrator: 20 kN/m² – 200 kN/m²
- Diameter of Deadweight Calibrator Piston: 0.017655 m
- Cross-sectional area of Dead-weight Calibrator: 0.000245 m²
- Pressure produced in cylinder by mass of piston with no applied masses: 20 kN/m²
- Approximate capacity of priming vessel: 150 ml
Features & Benefits
Key Features
- Includes simple Deadweight Pressure Calibrator using water for safety and ease of use
- Bourdon gauge and electronic sensor included for calibration
- Operating mechanism of Bourdon gauge visible through clear scale
- Electrical sensor can be logged using a PC (not supplied). Optional teaching software is available for data logging
- To gain an understanding of the concept of pressure and pressure measurement
- To gain an understanding of the concepts of measurement and calibration
- To investigate the behaviour and operation of a Bourdon gauge
- To investigate the behaviour, operation and Calibration of a Deadweight Pressure Calibrator
- To investigate the behaviour of two kinds of pressure sensor
- To observe the effect of damping on pressure measurement
- To convert an arbitrary scale of pressure sensor output into engineering units
- To calibrate a semiconductor pressure sensor
- To investigate the sources of error when measuring pressure
- To prove Boyle’s law – that absolute pressure
Teaching exercises will enable students to become familiar with the following topics:
Concept of pressure = Force/Area:
- Visualisation of the operation of a Bourdon type pressure gauge
- Function of a Deadweight Pressure Calibrator
Concepts of measurement and calibration:
- Gauge and absolute pressures
- Conversion of arbitrary scale into engineering units – correlating equations
- Zero error
- Scale error
- Nonlinearity
Characteristic behaviours of different sensors:
- Bourdon gauge
- Pressure sensor
- Use of damping to limit fluctuating readings
Sources of error:
- Friction, wear and backlash (effect of increasing/decreasing pressure)
- Manufacturing tolerances
- Signal conditioning
- Display resolution
Calibration in arbitrary units:
- Calibration of Bourdon gauge (angular displacement of needle)
- Calibration of pressure sensor (voltage output from sensor)
Calibration in engineering units:
- Calibration of a Bourdon gauge (kNm-2)
- Calibration of a pressure sensor and signal conditioning circuit (kNm-2)
Calibration of conditioning circuit and display using reference signal:
Project work:
- Calibration of alternative gauges or sensors
- Ageing and drift
The gauge supplied is a traditional six inch diameter industrial instrument but fitted with a clear rotary scale to enable observation of the Bourdon tube and indicator mechanism. The scale is calibrated in degrees of rotation (independent of units of pressure) in addition to the usual scale calibrated in units of kNm-2.
The electronic pressure sensor supplied incorporates a semiconductor diaphragm that deflects when pressure is applied by the working fluid. This deflection generates a voltage output that is proportional to the applied pressure.
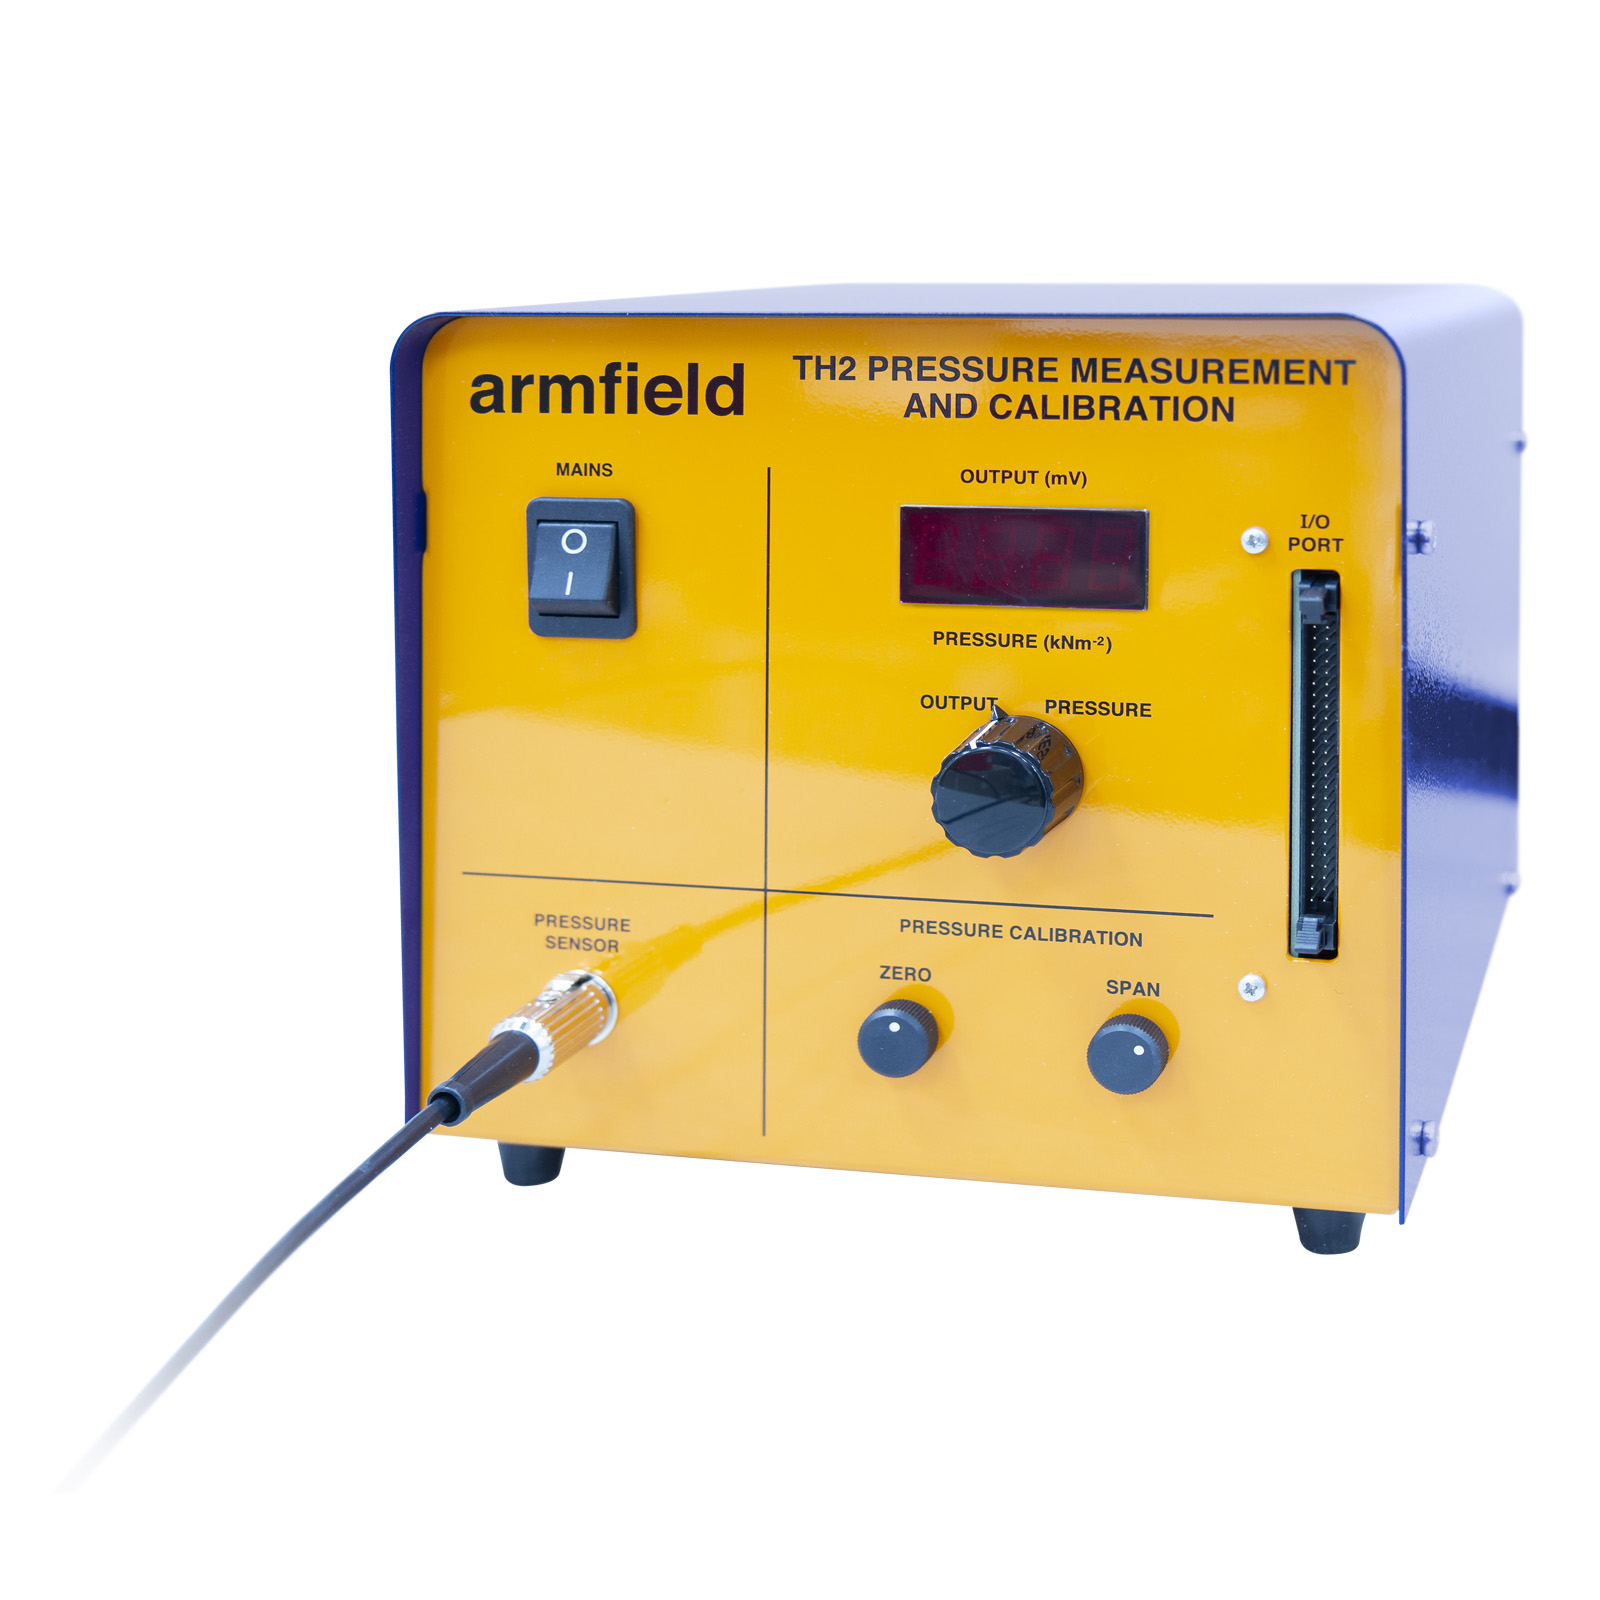
All power supplies, signal conditioning circuitry etc. are contained in an electrical console with appropriate current protection devices and an RCD for operator protection. The output voltage from the pressure sensor is displayed on a digital meter.
An additional conditioning circuit with user adjustable zero and span control enables the output to be displayed as a direct reading pressure meter calibrated in units of pressure. Both signals are simultaneously routed to an I/O port for connection to a PC when using an optional interface device with educational software package.
TH-DTA-ALITE:
Educational software for TH1-TH5 on a USB key complete with data logger (a PC running Windows 7 or later, with a USB port is required)
F1-29 Fluid Statics and Manometry
Recommended instruments
- Accurate weight balance: (0 – 5 kg)
- Barometer: (to determine the atmospheric pressure)
- DC calibrator: (to demonstrate calibration of instrumentation)
- Deadweight Pressure Calibrator with weights to generate a range of predetermined pressures. This is connected to a Bourdon gauge and electronic pressure sensor. The Bourdon gauge incorporates an arbitrary scale in addition to the pressure scale and a clear acrylic front face enables observation of the Bourdon tube and the operating mechanism. A reservoir with isolating valve enables the calibrator, Bourdon gauge and pressure sensor to be easily primed
- An electrical console houses the necessary electronics with current protection devices and an RCD for operator protection. A digital meter with selector switch displays the output from the pressure sensor, as well as the conditioned reading in engineering units. Corresponding signals are routed to an I/O Port for connection to a PC. An optional interface device with educational software package is available
- The Deadweight Pressure Calibrator, Bourdon gauge and pressure sensor are mounted on a common PVC baseplate. The electrical console is free-standing
- Pressure sensors, manometers or Bourdon gauges other than those supplied can be calibrated over the range 20 kNm-2 to 200 kNm-2
- A comprehensive instruction manual is included with a range of fully detailed laboratory teaching exercises
Electrical supply: Single phase
- TH2-A: 220-240V/1ph/50Hz, 2A
- TH2-B: 120V/1ph/60Hz, 4A
- TH2-G: 220-240V/1ph/60Hz, 2A
Fill with clean cold water (0.1 litres)
PACKED AND CRATED SHIPPING SPECIFICATIONS
Volume: 0.1m³
Gross Weight: 15Kg
Instrumentation and Deadweight Pressure Calibrator
Length: 0.400m
Width: 0.275m
Height: 0.290m
Electrical Console
Length: 0.290m
Width: 0.225m
Height: 0.215m
- TH2-A
- TH2-B
- TH2-G
